Deploy the Egress Device
Deploy a device in Azure to act as your Egress. Recommended: Ubuntu (latest) on the smallest possible instance type (VM recommended). The gateway device must:
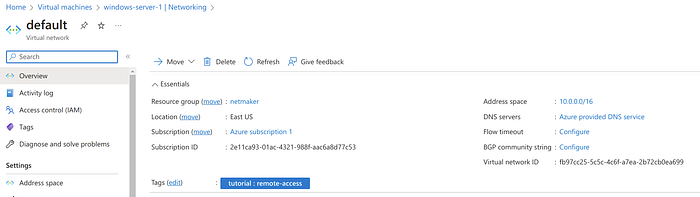
Be in the same virtual network/subnet as the target devices so it can reach them.
Allow inbound SSH (port 22) for administration.
Have a public IP so clients can connect to it.
Expose the WireGuard port used by Netmaker (by default Netmaker uses UDP 51821). Open at least 51821/udp from Any source — the guide opened 51821–51830/udp to be safe.
Add the Egress Device to Netmaker
Sign up at https://app.netmaker.io (or self-host Netmaker from http://github.com/gravitl/netmaker).
Use the default network and access key (the account will typically have a network named “netmaker” and an access key named “netmaker”). In the author’s screenshots the network/key are named “azure-gw” — either is fine.
In the Netmaker UI: click your network → Hosts → Add a new host.
Follow the on-screen instructions: SSH to the VM, download and install the netclient, and join the network.
After installation you should see output similar to this and the device listed in Hosts.
Device listed in Hosts list In the Netmaker UI, click on the gateway device, then click “Egress” → “Create Egress”.
Configure the egress to point to the Azure virtual network subnet range (or to a single IP or list of IPs within the subnet). This makes the gateway forward traffic destined for the private Azure subnet.
After creation, the device is prepared to serve traffic to the target destination.
The Client Gateway allows generating WireGuard config files that route through the gateway device into the network.
In Netmaker: Clients → Create Client. If no Client Gateway exists yet, Netmaker will prompt you to select a device to act as the gateway and will generate the first client (the WireGuard config file) attached to that gateway.
Download the generated WireGuard config file and run it using any standard WireGuard client on your local machine.
Client generated screenshot Click the client ID to view details and download configs:
If everything is configured correctly you should be able to RDP to the Windows Server using its private IP (10.0.0.4 in the example) over the WireGuard tunnel.
RDP over private IP screenshot You can generate additional clients to provide access for multiple users.